How to Use the Sign Designer
A practical walkthrough for building a custom laser-cut metal sign from first words to checkout.
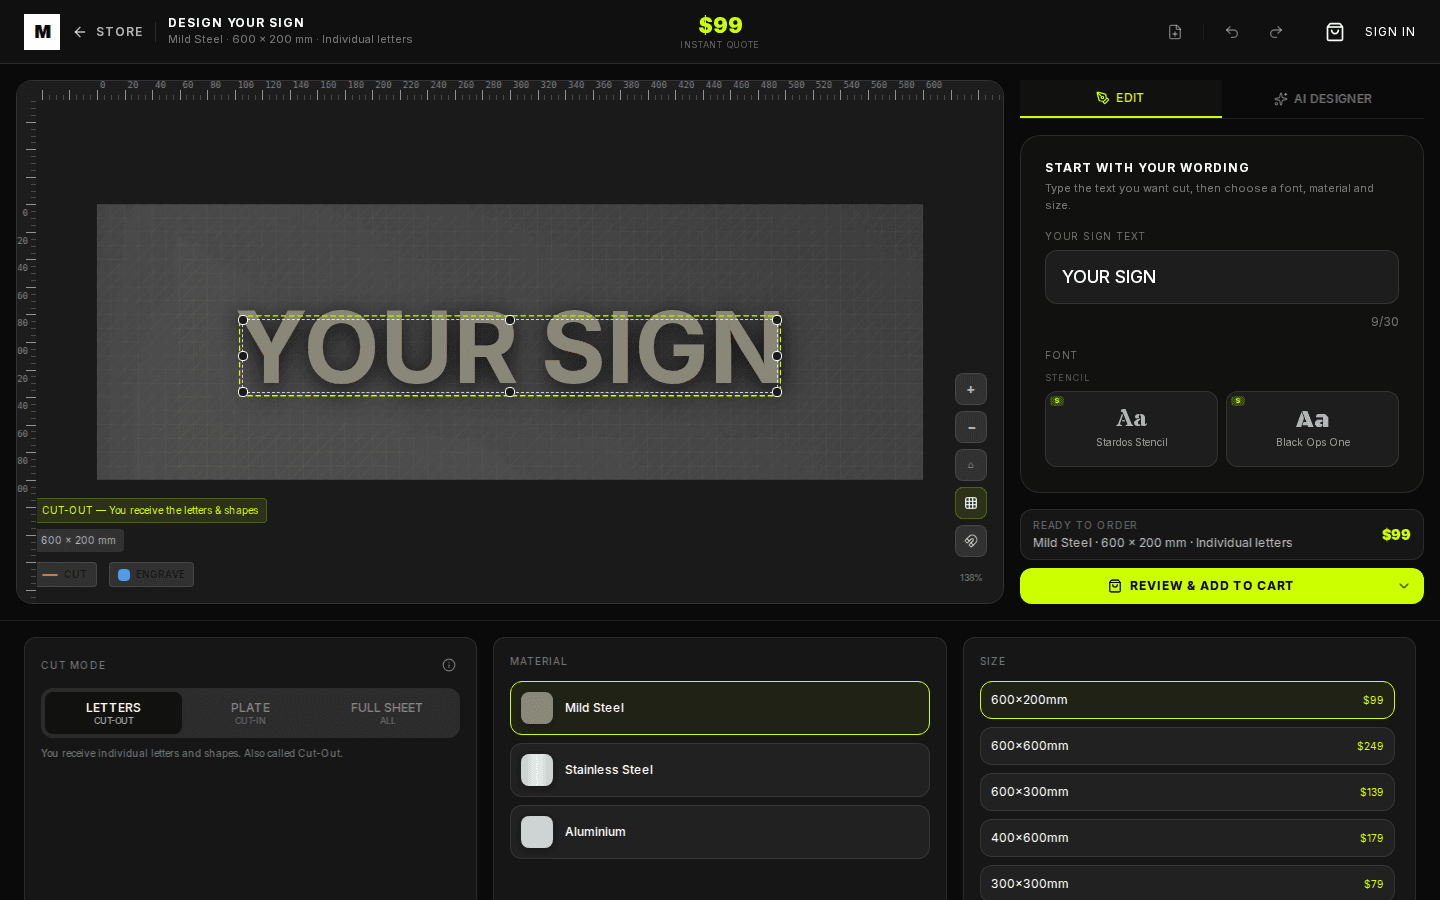
Choose words, fonts, metal, size, mounting, and proofing in one workspace. The designer keeps the canvas, quote, layer list, and manufacturing options connected while you build.
The Main Areas
The canvas is your live sign preview. It shows the current text, shape layers, cut guides, material treatment, mounting holes, and background mockup. The sidebar holds the main editing controls and layer list. The bottom settings area handles material, size, cut mode, backing, corners, and mounting.
The instant quote in the toolbar updates as you change the sign. It is designed to keep the important manufacturing decisions visible without making you leave the designer.
Build a Sign
- 1. Enter the wording. Start with the main text. Keep street numbers and business names short enough to read from distance.
- 2. Choose a font. Stencil-safe fonts appear when cut-in mode needs bridges. Decorative fonts work best for cut-out lettering.
- 3. Pick the cut mode. Use individual letters for a clean floating look, stencil plate for a backed sign, or full-sheet options where available.
- 4. Select material and size. Mild steel gives rustic patina, stainless stays polished near the coast, and aluminium keeps the sign lightweight.
- 5. Add objects or layers. Use the object library for simple symbols and the layer list to control position, visibility, order, and operations.
- 6. Set mounting. Choose direct mounting, hanging holes, or corner holes based on the surface where the sign will go.
- 7. Proof before checkout. Confirm the generated production proof, saved scene mockup, spelling, material, size, cut mode, and mounting before adding the design to cart.
2D, 3D, and Scene Previews
The 2D canvas is the working preview while you design. When you add the sign to cart, the proofing step saves an outlined production proof that becomes the cut reference for your order.
The 3D preview is for depth and material feel. It turns the current design on a simple product view so you can judge how the metal surface and proportions read before checkout.
The proofing screen also saves a scene mockup. Choose the closest setting to your install area so the cart thumbnail and order view reflect the selected surface. Scene mockups use the same approved sign artwork and selected dimensions, while wall texture, lighting, and exact camera distance remain illustrative.
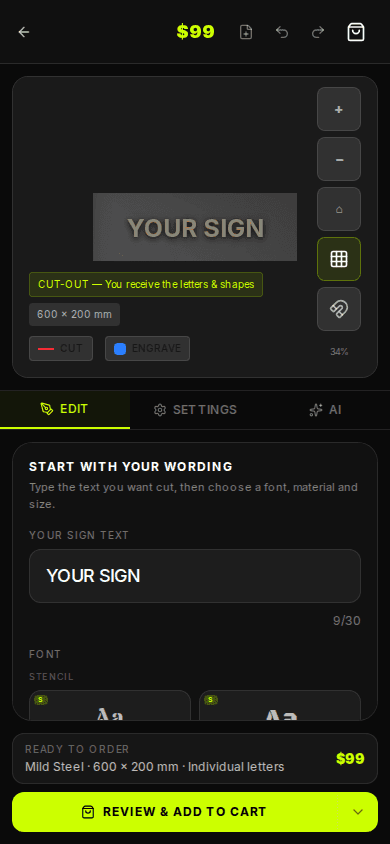
Mobile Layout
On mobile, the designer uses tabs so the canvas does not disappear behind a long form. Use Edit for text and layers, Settings for material and manufacturing options, and AI for account-enabled design help.
Where AI Designer Fits
AI Designer is useful when you know what you want changed but do not want to hunt through every control. Ask it to make the current sign bolder, add a simple symbol, switch material, or create a cleaner layout.
It does not replace the manual designer. AI changes remain editable, and the normal undo, layer, material, and proofing controls still decide what goes to the laser cutter.
Ordering Checklist
- Check every word and number at full zoom.
- Confirm the material suits the location, especially coastal exposure.
- Confirm the size is readable from the intended viewing distance.
- Check mounting holes match the wall, gate, post, or display surface.
- Use proofing before adding the item to cart.