Made in Niagara Park, NSW · Est. 2024Free shipping over $150 · Tracked Australia-wide deliveryhello@metalmarvel.com.au
GUIDE
Laser-Ready Design Checklist
Use this checklist to make sure your custom metal sign design is practical for laser cutting before checkout.
Laser cutting can follow very fine paths, but a good sign still needs readable lettering, enough metal around details, clean stencil bridges, sensible mounting, and visible but not overdone preview lines.
Minimum Detail
Minimum detail is about both cutting and readability. A laser can cut with high accuracy, but small islands, hairline gaps, and intricate curls may not be useful on a sign mounted outside.
If a detail matters, make it large enough to read at the intended viewing distance. If it is only decorative, remove it before it creates fragile geometry.
Check These Before Checkout
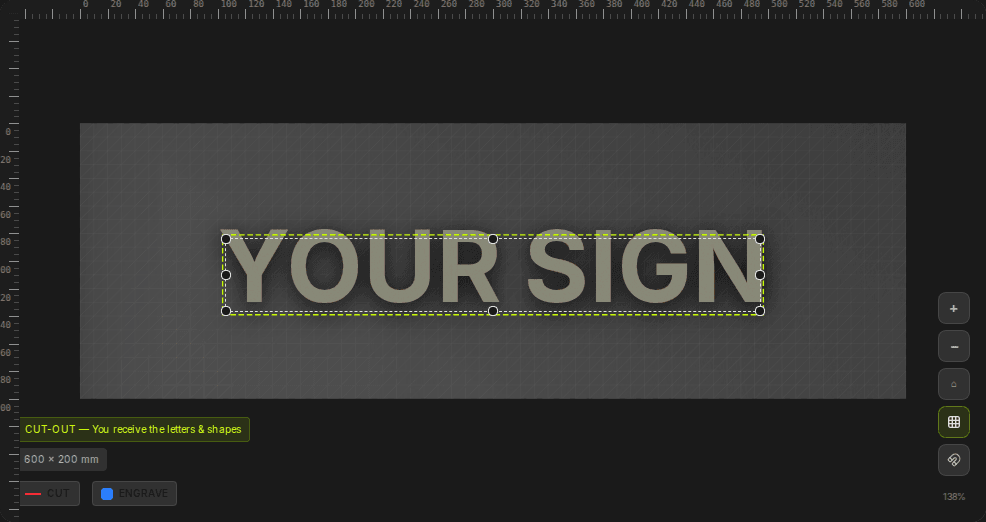
- Line preview: Cut and engrave previews should be visible for proofing without looking like thick black artwork.
- Stencil bridges: Cut-in text and enclosed shapes need bridges so the centre pieces remain attached.
- Text scale: Numbers and names should remain readable from the real viewing distance, not just at screen zoom.
- Mounting: Holes should suit the surface and should not collide with important text or artwork.
- Material: Choose metal based on location: mild steel for patina, stainless near harsh weather, aluminium for lighter installs.
AI Prompt For Laser Readiness
"Review this sign for laser cutting. Keep the design mostly the same, but simplify fragile details and preserve readability."
"Make this stencil-safe without changing the overall size or message."
"Check whether the mounting holes and lettering feel balanced for a gate sign."