Made in Niagara Park, NSW · Est. 2024Free shipping over $150 · Tracked Australia-wide deliveryhello@metalmarvel.com.au
GUIDE
Upload Artwork and Trace It
Prepare logos, icons, and reference images so they trace cleanly into editable metal sign layers.
A clean silhouette traces best. Use high-contrast artwork, remove photo noise where possible, and keep only the shapes that should become cut or engraved sign geometry.
Choose The Right Source Image
The best upload is already close to what the laser needs: bold shapes, clear edges, strong contrast, and minimal texture. A black logo on a white background is much easier to trace than a shaded photo.
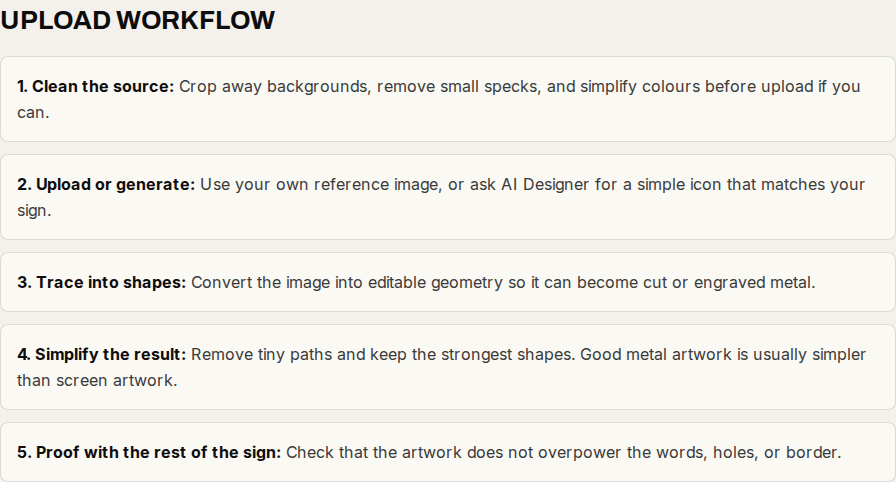
Upload Workflow
- 1. Clean the source: Crop away backgrounds, remove small specks, and simplify colours before upload if you can.
- 2. Upload or generate: Use your own reference image, or ask AI Designer for a simple icon that matches your sign.
- 3. Trace into shapes: Convert the image into editable geometry so it can become cut or engraved metal.
- 4. Simplify the result: Remove tiny paths and keep the strongest shapes. Good metal artwork is usually simpler than screen artwork.
- 5. Proof with the rest of the sign: Check that the artwork does not overpower the words, holes, or border.
Good AI Requests
"Generate a simple one-colour gum leaf icon and trace it as a cut layer."
"Use this logo upload as a reference, simplify it for laser cutting, and keep the text separate."
"Trace this image into clean editable shapes and remove small noisy details."