AI Designer
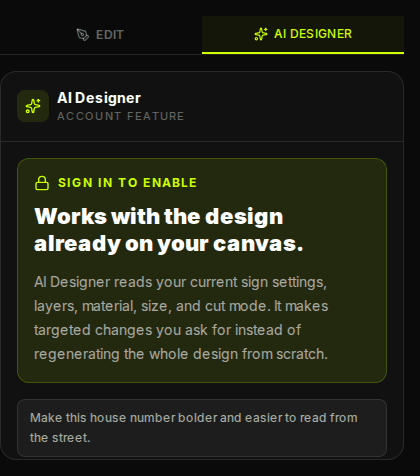
Use AI to adjust the sign you are already building, without giving up the manual designer or starting again.
AI Designer edits the design already on your canvas. It reads your wording, layers, material, size, cut mode, and laser constraints, then applies targeted changes you can keep editing by hand.
How It Works
Most AI design tools make a new picture every time you ask for a change. That is not how this works. Metal signs are manufactured from real layers, fonts, sizes, cut lines, engraving operations, and metal choices. AI Designer works with those existing settings instead of flattening your design into a one-off image.
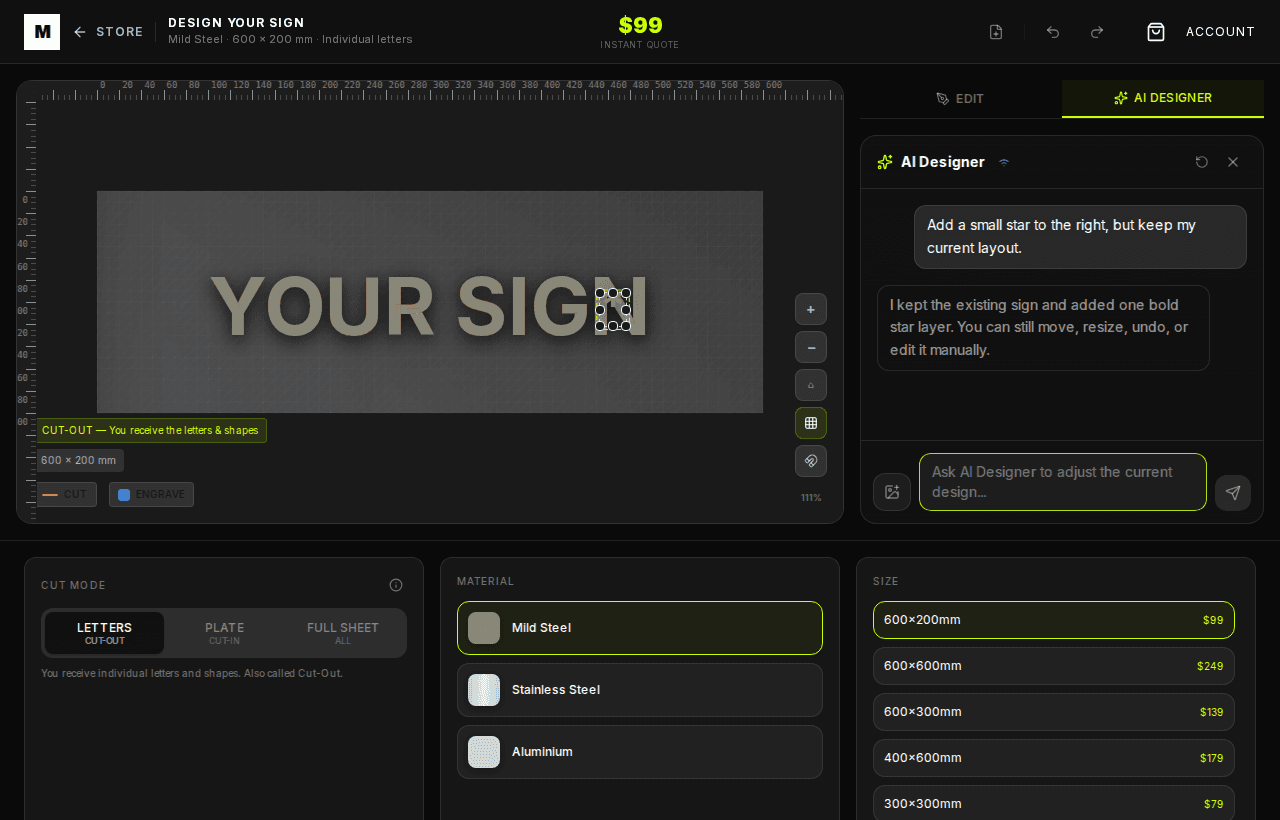
When you send a prompt, the designer sends a compact version of your current canvas to the AI service. The response comes back as structured operations: change the material, add a text layer, update a layer, add a stencil object, trace generated artwork, or adjust global settings. Those operations are applied to the same editable designer, so you can keep refining the sign.
Good Prompts
What AI Designer Can Change
- Text and fonts: rewrite wording, add a second line, choose a bolder font, or switch to stencil-safe fonts for cut-in plates.
- Material and size: compare mild steel, stainless steel, and aluminium, then update the live quote.
- Layer operations: keep some layers as cut lines and set suitable layers to engraving where the material supports it.
- Objects and generated artwork: add simple symbols, generate artwork, trace it, and bring it back as editable sign geometry.
- Laser-aware guardrails: avoid unsupported engraving on aluminium and protect stencil-mode font choices.
Step-by-Step
- 1. Start the sign manually. Add your wording, choose a metal, and pick a starting size so AI has a real canvas to work with.
- 2. Open AI Designer. Guests can preview the feature and draft a prompt. Sign in or create an account to send it.
- 3. Ask for one clear change. Smaller prompts produce better manufacturing-ready edits than broad requests.
- 4. Review the result. Check the canvas, layers, material, quote, and proofing notes.
- 5. Keep editing or undo. AI edits remain part of the designer state, so you can use normal controls immediately.
Before You Order
Use AI Designer for speed, then use the proofing step for confidence. Check spelling, visibility, cut mode, mounting, and material before adding the design to cart. The final sign is still made from the editable designer file, not a flat AI picture.